Showing posts with label refashion. Show all posts

Saturday, March 22, 2014

Sleep Shirt to Racing Stripes Refashion + A Surprise for a Kitty


We just got a new camera so excuse the goofy pictures. We are having a little too much fun with it. 


 I've had this shirt for years. It's super soft, but the years of love have stretched it out quite a bit. It's also lacking some pizzazz. I have quite a hard time parting with loyal pieces of clothing. This shirt has served me well. I cant just give up on it.


I have quite a few scraps from this dress:

"What happened to the rest of this crazy dress?" you ask.

Well, honestly, I'm not sure yet. I've been fighting with this piece for a while. I think I have a handle on it now, but you will still have to wait on the final results.

Today I used the lining from the blouse part of the dress. So, let's begin!

I took three inches in from the sides on the shirt. I took in two inches on one side and one inch on the other.


 "Why did you take in uneven amounts?" you ask.

I'll tell you.

I added pizzazz.

About an inch of pizzazz to be exact. A racing stripe if you will {or at least that's what Philip said it reminded him of}. It made up for the extra inch that I cut off on one side. 

So one side simply was taken in one inch and the excess trimmed away. The second side had two inches cut away; Straight up the side seam all the way through the armpit and sleeve. Then I added this to the open side:


I folded the material in half because it was see through and I don't play like that. I then pinned it to itself so it wouldn't slip or bunch. 

Next, I turned the shirt inside out and pinned the strip of fabric to one of the open sides.

I made the mistake of turning around for thirty seconds, and when I returned, I found an inconsiderate cat sleeping on my handy work. On top of NEEDLES! "Why would she do that?", you ask. Well, you're asking a lot of questions today, and this is one I simply can't answer. She's not the brightest crayon in the box {my mom seriously thinks she has mental problems}.

What a wauzzie...

Here's a better look:

SO MANY PINNNSSS!!!!!

Next things next, I stitched that side down and proceeded to do the same on the other.

I then had a fully functioning shirt again, but I wanted to do something more.

I thought about putting another strip down the other side, but then I really would look like a race car.

I decided to put a strip down the shoulder onto the sleeve.


I'm still not sold on the method I used. It was easier that the way I did the side {which is totally doable if you feel more motivated than I did} because it didn't involve taking anything in or even cutting the shirt. I definitely doesn't look as clean though as the side method though. I might actually go back at a later date and revamp it, but for now, here was my process.
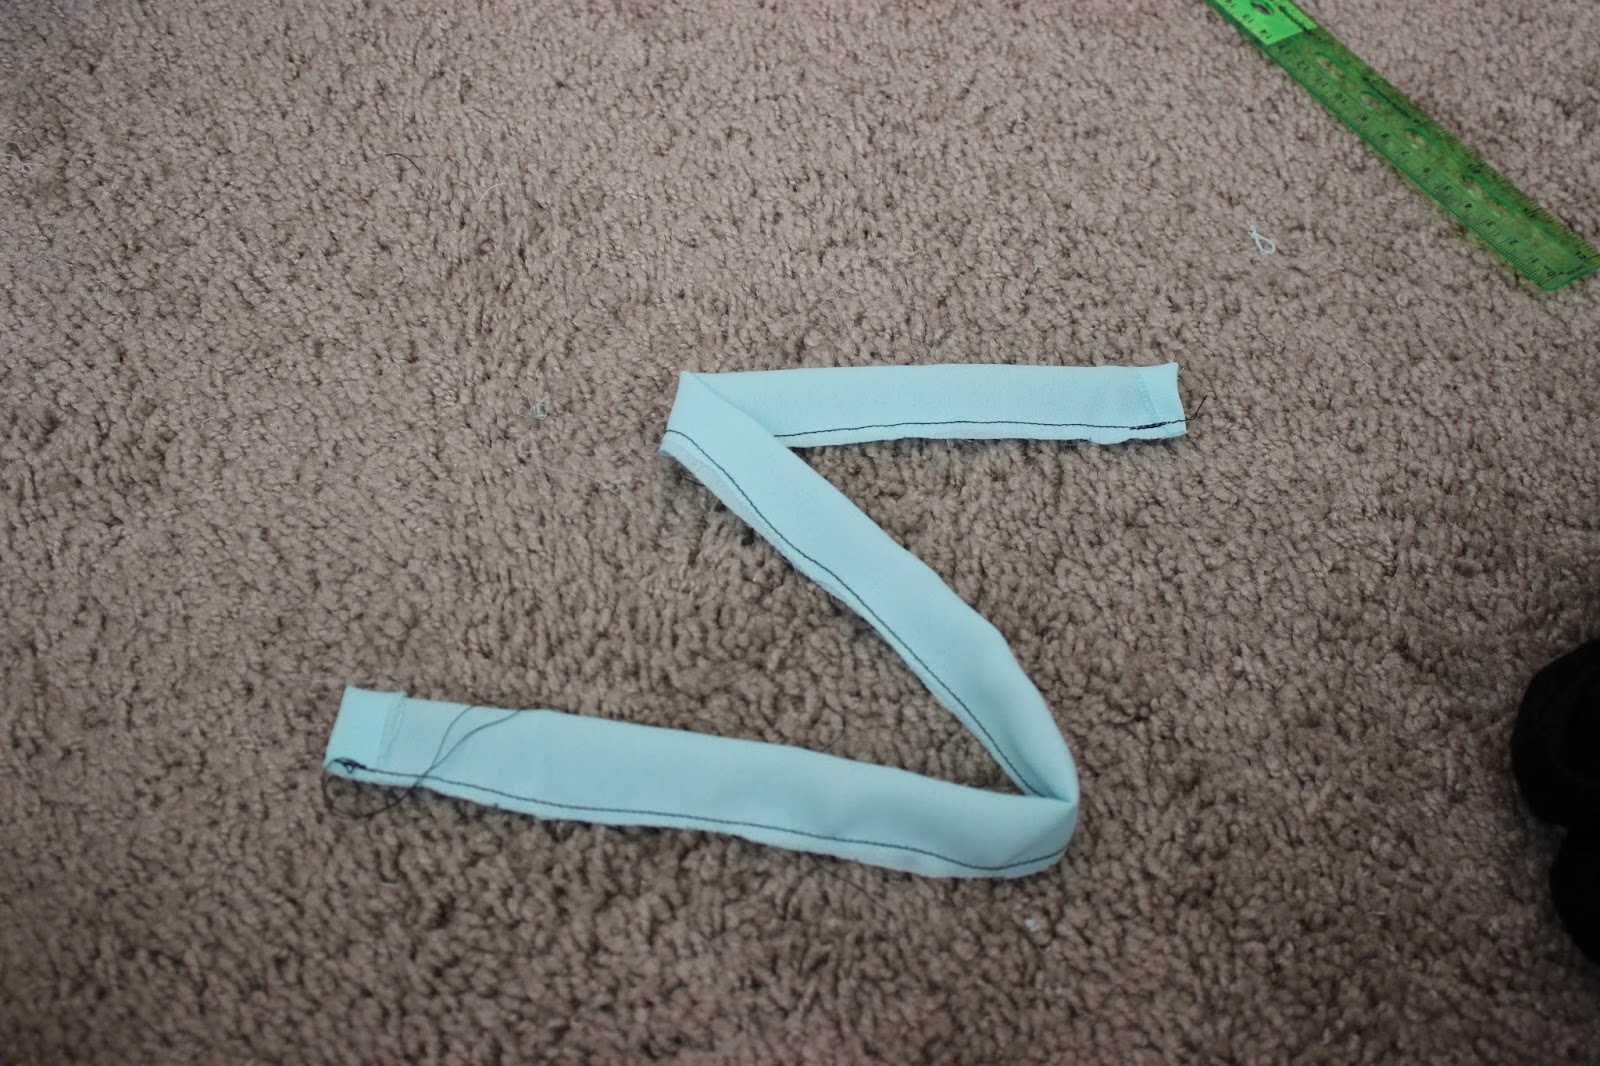
I took more scrap fabric and made a tube.


I put a pin on one end and then flipped it inside out.


I took my fabric tube and ironed it { I may have used my hair straightener} and then sewed it to the outside of my shirt.

After folding the excess under and sewing it into the hem, I was done! It was hard to get a pic of both sides of the shirt, so, again, humor me with the multiple goofy pictures.


I had some extra scraps from this project and from the dress.


I decided to make them into a cute little cat nip mouse for Crunchy.
   
She's happy about it.

Wednesday, March 5, 2014

Learning Curve Shirt

This shirt. I don't know where to begin. It was the subject of a tantrum that resembled that of a three year old, but it also turned out to be the project I am most proud of so far.

So begins the pre-refashion photo shoot. 

I love the soft fabric and pattern of this skirt. It also has awesome pleats which I love. 

I wasn't going out to see a friend visiting from out of state like this though. They would question my sanity. 

Sometimes I question it...

Maybe if I wear it like this instead... nope.


I decided to turn this skirt into a shirt which, lookin back, I probably shouldn't have done without a dress form. That would have saved a lot of frustration. 

But since that isn't in the budget right now, I decided to guesstimate. Let the bumpy ride begin. 

First I tried on the skirt with the waistband around my neck and the bottom opening around my waist. I pinned where I though the arm pit should be/ where the seam for the armhole should begin. 

Next I spread the skirt flat {as possible with all those pleats}  and inside-out on the floor. I pinned from my armpit pin {haha} all the way down to the bottom hem. Then, using the same starting point {armpit pin, haha again} I ran a line of pins down the hem a few inches to the inside of the first line. Confused yet? Here's a pic:

It kinda creates a triangle. See?

I did this on both sides. Then I ran the line of pins through my machine. After, I made two big cuts right in between my rows of pins. See there this is going???


Now I had somewhat of a shirt in the sense that it had a neck hole and places for my arms to fit through. It's still didn't look very good though. 

I chopped off some length from the bottom and from the sleeves, but still wasn't happy with it {insert toddler tantrum here}.

 I made the sleeves too tight.... Grrr. There is nothing more annoying that stifling sleeves, except Publix not having your favorite flavor of Ben and Jerry's icecream {which is Peanut Butter World, just FYI}. I decided to cut the sleeves along the shoulder to open them up a bit. 

Like so. Snippin', ziggin' and zaggin' 


I ran a zigzag stitch over the edges to keep it from fraying. At this point I thought I was done. I wore it out in public like this: 


Not horrible, but I was still a little disappointed. I decided to just risk it big and rip off the waist band/ new collar completely. Also, what's with that baby sash? 


I sewed the new neckline right back down. I also used some of the left over fabric to make my sash an appropriate length. 


All finished! This is definitely the refashion that I have worked the most on. I think it paid off. I am so proud of my new top. 


Off to Downtown Disney with the hubs. 

"We are by the Lego statue of Woody. Where are you?"

Can't wait for Spencer to arrive! 

Even the free parts of Disney are magical

Much fun was had by all. 


Tuesday, March 4, 2014

Refashion: Choir Dress Revival!

When is tumbled upon this dress at one of my favorite thrift stores, I liked so much about it.


The fit isn't too bad, I loved the waist detail (which didn't show up in this picture...boo), and black dresses are so versatile. 

I wasn't crazy about the neckline though. It has a strange pseudo turtleneck going on. And then those sleeves.... Hmmm

First, I unpicked the entire collar, got rid of that awkward strip of fabric, and stitched the seam right back down.  Buh-bye turtleneck thingy! 

I took the dress in about a half inch on each side. Now it fits perfectly. 

I originally wanted this dress to be appropriate for work, but no matter how I cut the sleeves I couldn't get the image of old choir lady out of my head when I tried it on. 

There is nothing bad with being old. There Is nothing bad with being a lady. There is nothing bad with being in a choir.
There isn't even anything bad with being all three of these things. It was just not the look I was shooting for.

I ended up getting rid if the sleeves altogether. So long work appropriate! I got to unpicking and then sewed the seam right back down sans sleeve. 

Now my dress will be cute for a date night, maybe even church. 


I'll just have to continue my search for work appropriate clothing another day. 


Thursday, February 27, 2014

Men's polo refashion


I recently got a sewing machine as a wedding present. For a while I was just itching to use it. I asked the hubs if he had any shirts that he wouldn't mind if I accidentally ruined while I play around with my new sewing machine.

Turns out that I get a ton of enjoyment out of sewing and remaking things. Thus, a new category on this blog was born!

REFASHIONS!

This was my first refashion that I have actually been really proud of. I am still figuring out what all I should document in pictures to be able to fully explain my refashioning process. And, since this post I have bestowed the responsibilities of Before/After shots to the hubs. Mirror selfies will soon disappear.

Sorry... I know you were excited to see more of those.

Enough dilly dally. Lets get to it.


There isn't anything terribly wrong with this shirt. It's a normal men's polo, but Philip isn't really a polo dude. This shirts wasn't working for me as is either. 

I did love the super soft material. It's also fairly difficult to find shirts that are long enough for me, so I liked that it was a little big.

My first step was to remove the collar. 

So long! 

After the collar was removed, I stitched up the raw edges that I just made. I zipped along the same seam line sans collar.

Next, I tried on my shirt and measured how much I wanted to take in on the sides. I measured at my bust line, waist, hips and sleeves. Once I had my measurements, I turned the shirt inside-out and pinned along the sides. I ran my shirt through the sewing machine.

After, I snipped off the extra fabric that I took in from the sides. I made sure to keep all the extras... I had plans for it later.
Is the suspense killing you?
Good... then you can keep reading.

I tried on the shirt again to measure how long I wanted the length of the bottom and sleeves to be. Again, I measured, turned inside-out, pinned, and stitched. This time I used a zig zag stitch so that the seam would have a little give with the stretchy fabric. 


Back to that extra fabric!

I made both pieces into a long tubes by sewing closed three of the edges on each piece and then flipping the tube inside-out.


TA-DA!

I then used my seam ripper again to undo the top part of the button down on each side. I sewed the unfinished edge of my long tubes into each side of the newly unfinished edges. This part is a little difficult to explain....so come with me, I show you.

See? kinda?
Now, I have two long strips of fabric that I tied to make a bow at the top of the button up.


FINISHED PRODUCT!
and the cat...and a cookie sheet in the sink....
I'm not sure how I feel about having a big bow on my shirt. I kind of feel like a five year old. What do y'all think? Make me feel better about myself ha ha.

And the classic before and after pic