We just got a new camera so excuse the goofy pictures. We are having a little too much fun with it.
I've had this shirt for years. It's super soft, but the years of love have stretched it out quite a bit. It's also lacking some pizzazz. I have quite a hard time parting with loyal pieces of clothing. This shirt has served me well. I cant just give up on it.
I have quite a few scraps from this dress:
"What happened to the rest of this crazy dress?" you ask.
Well, honestly, I'm not sure yet. I've been fighting with this piece for a while. I think I have a handle on it now, but you will still have to wait on the final results.
Today I used the lining from the blouse part of the dress. So, let's begin!
I took three inches in from the sides on the shirt. I took in two inches on one side and one inch on the other.
"Why did you take in uneven amounts?" you ask.
I'll tell you.
I added pizzazz.
About an inch of pizzazz to be exact. A racing stripe if you will {or at least that's what Philip said it reminded him of}. It made up for the extra inch that I cut off on one side.
So one side simply was taken in one inch and the excess trimmed away. The second side had two inches cut away; Straight up the side seam all the way through the armpit and sleeve. Then I added this to the open side:
 |
I folded the material in half because it was see through and I don't play like that. I then pinned it to itself so it wouldn't slip or bunch.
Next, I turned the shirt inside out and pinned the strip of fabric to one of the open sides.
I made the mistake of turning around for thirty seconds, and when I returned, I found an inconsiderate cat sleeping on my handy work. On top of NEEDLES! "Why would she do that?", you ask. Well, you're asking a lot of questions today, and this is one I simply can't answer. She's not the brightest crayon in the box {my mom seriously thinks she has mental problems}.
I made the mistake of turning around for thirty seconds, and when I returned, I found an inconsiderate cat sleeping on my handy work. On top of NEEDLES! "Why would she do that?", you ask. Well, you're asking a lot of questions today, and this is one I simply can't answer. She's not the brightest crayon in the box {my mom seriously thinks she has mental problems}.
 |
| What a wauzzie... |
Here's a better look:
 |
| SO MANY PINNNSSS!!!!! |
Next things next, I stitched that side down and proceeded to do the same on the other.
I then had a fully functioning shirt again, but I wanted to do something more.
I thought about putting another strip down the other side, but then I really would look like a race car.
I decided to put a strip down the shoulder onto the sleeve.
I'm still not sold on the method I used. It was easier that the way I did the side {which is totally doable if you feel more motivated than I did} because it didn't involve taking anything in or even cutting the shirt. I definitely doesn't look as clean though as the side method though. I might actually go back at a later date and revamp it, but for now, here was my process.
I took my fabric tube and ironed it { I may have used my hair straightener} and then sewed it to the outside of my shirt.
I had some extra scraps from this project and from the dress.

I decided to make them into a cute little cat nip mouse for Crunchy.
I then had a fully functioning shirt again, but I wanted to do something more.
I thought about putting another strip down the other side, but then I really would look like a race car.
I decided to put a strip down the shoulder onto the sleeve.
I'm still not sold on the method I used. It was easier that the way I did the side {which is totally doable if you feel more motivated than I did} because it didn't involve taking anything in or even cutting the shirt. I definitely doesn't look as clean though as the side method though. I might actually go back at a later date and revamp it, but for now, here was my process.
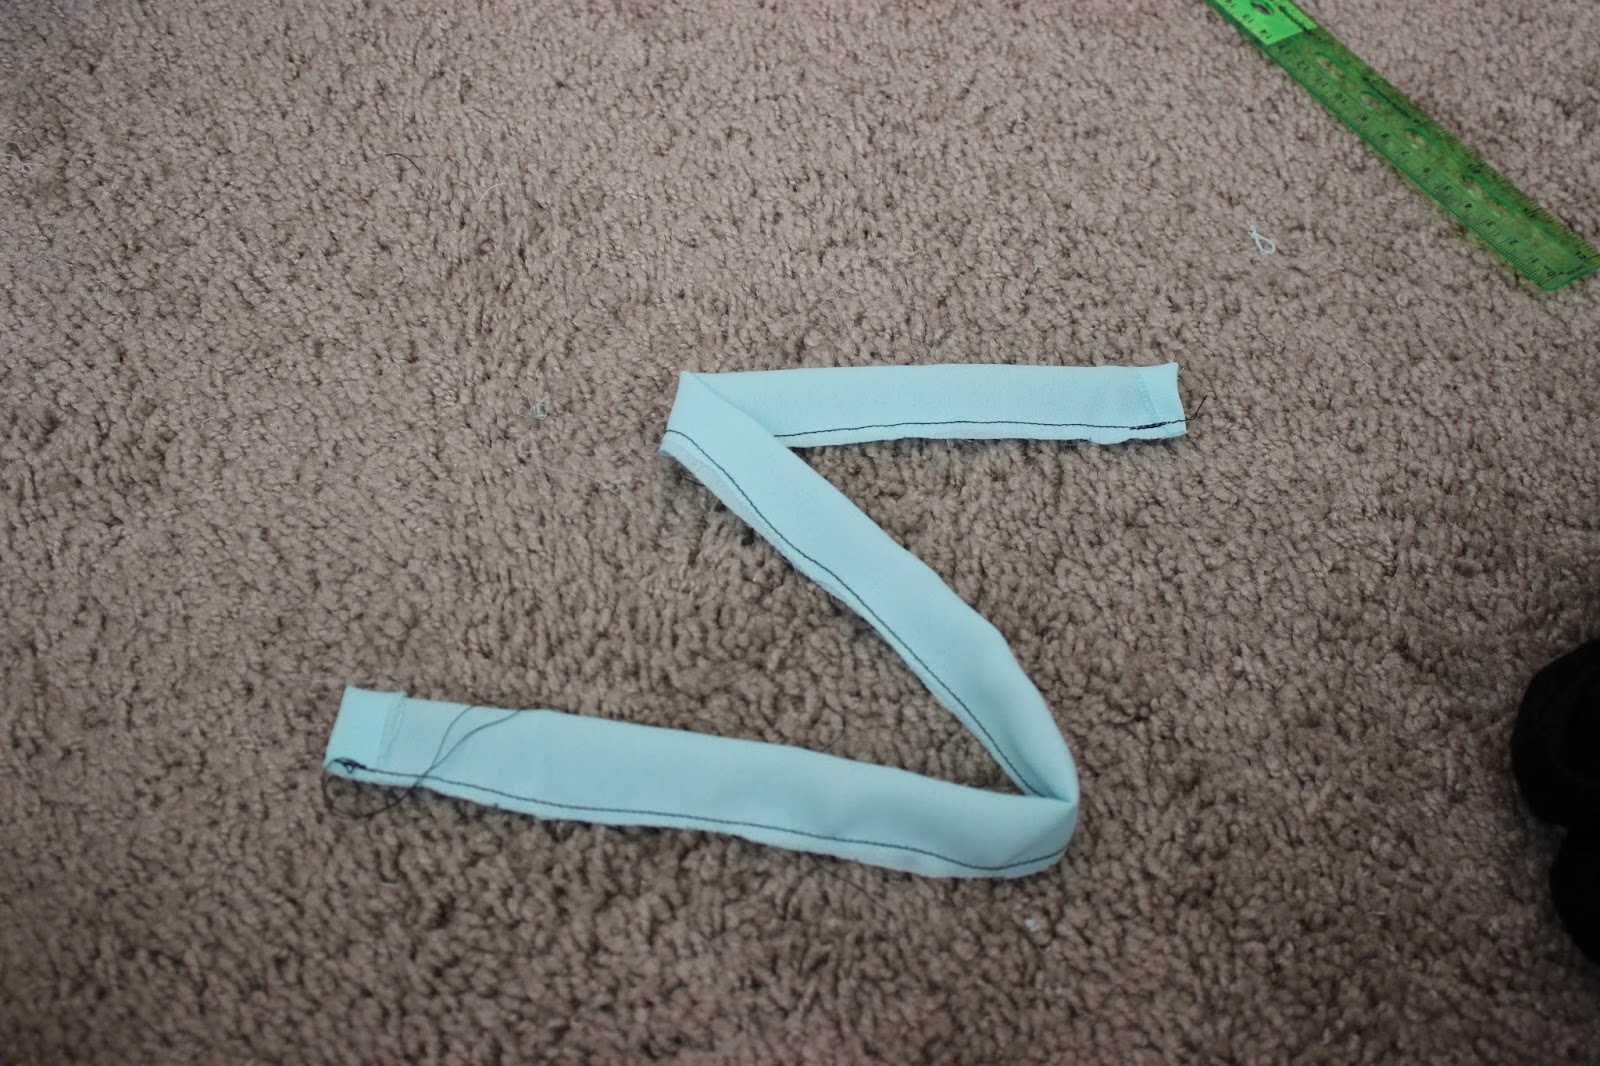
I took more scrap fabric and made a tube.
I put a pin on one end and then flipped it inside out.
I took my fabric tube and ironed it { I may have used my hair straightener} and then sewed it to the outside of my shirt.
After folding the excess under and sewing it into the hem, I was done! It was hard to get a pic of both sides of the shirt, so, again, humor me with the multiple goofy pictures.
I had some extra scraps from this project and from the dress.

I decided to make them into a cute little cat nip mouse for Crunchy.
 |
| She's happy about it. |


Enjoyed this, not to mention you have truly unique "one-of-a-kind" clothing!
ReplyDelete